Salesforce introduced a ton of great feature enhancements. Let’s take a look at some of the more important ones for this release.
-
Build Flows More Intuitively with Flow Builder
Cloud Flow Designer with a much faster tool: Flow Builder. It streamlines flow building and maintenance with a simplified user interface.
With Flow Builder, we streamlined the toolbox, so it’s easier to choose the right element or resource for your flow. For example, we consolidated the data elements and how you create variables. No more keeping track of whether to use a Fast Create or Record Create, or which type of variable you need. We also renamed some elements and resources to be more intuitive. For example, the sObject data type is now called “Record.”
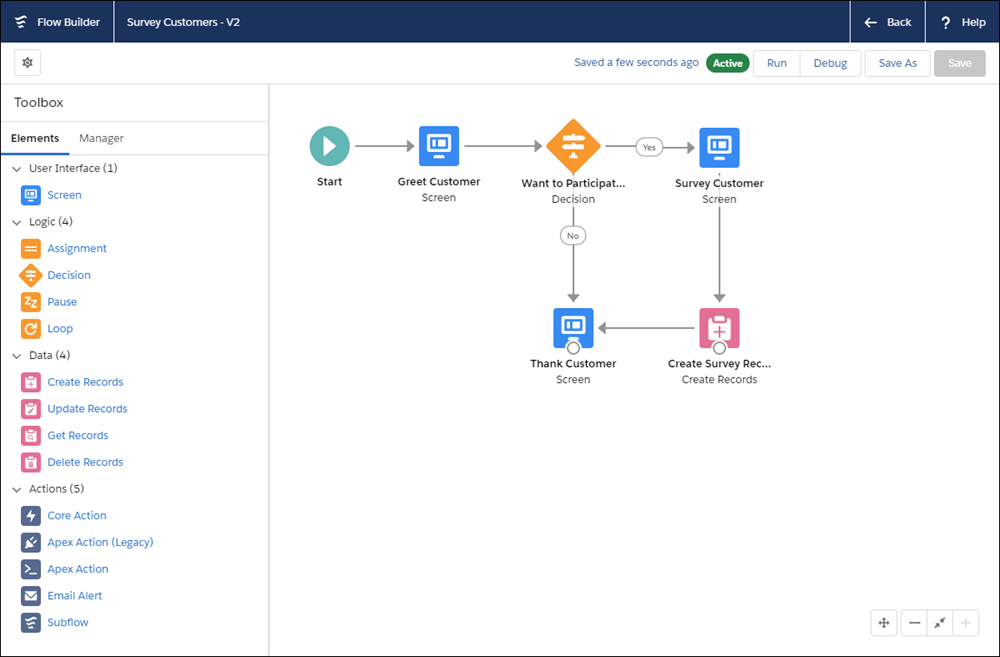
Flow Builder is now the default flow-building tool in all orgs—Salesforce Classic or Lightning Experience—so no migration is needed. When you modify an existing flow or click New Flow, you open Flow Builder.
Cloud Flow Designer is disabled by default, but you can turn it back on. From Setup, go to Process Automation Settings and deselect Disable access to Cloud Flow Designer. When Cloud Flow Designer is reenabled, you see the New Flow in Cloud Flow Designer button on the Flows page. When both tools are enabled, a flow opens in the tool that it was built with.
2. Switch Your Lightning Page to a Different Template
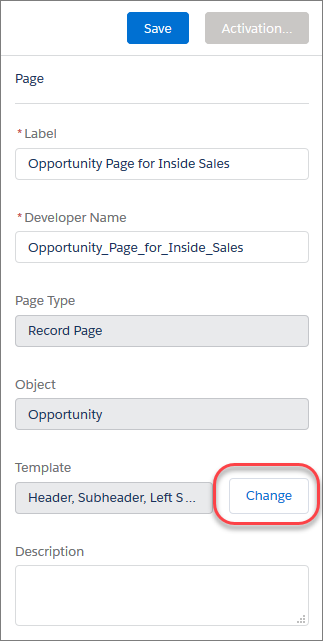
Now with a few clicks, you can swap a Lightning page’s template.
How you can change Layout?
When you view a Lightning page’s properties in Lightning App Builder, click Change next to the Template field to start the template-switching process.
3. Remove an Account Team in Lightning Experience
When an account team isn’t needed, the account owner can remove the entire team with a click. Previously, you had to remove a team one member at a time.
How does it work?
To remove a team, on the Account Team related list, select Remove All Members.

4. Stay on Time with Relative Dates for Macros
With relative dates, you can set the due date to be a certain number of days after the date the macro runs.
When working with dates and times, relative dates let you specify:
- Minutes from now
- Hours from now
- Days from today
- Weeks from today
How does it work?
In Macro Builder, select Relative when working with date and time fields. Enter a value, and choose a duration. Here’s an example of the Due Date field on a task.

The Relative option is available on Time, Date, and DateTime fields. For example, you can create an event that’s one week from today at 8:00 AM.
5. Rich Text Component Uses the Quill Text Editor
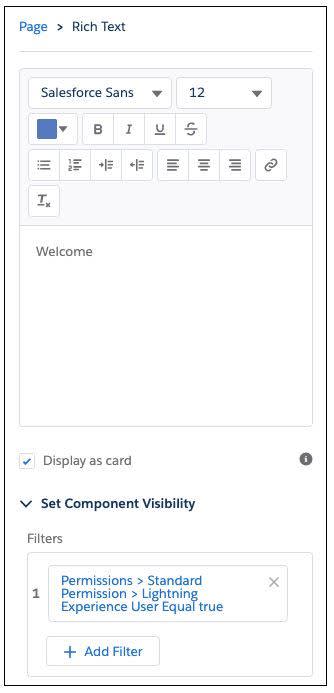
To ensure that the Rich Text component works smoothly with Lightning Locker, we changed its text editor from CKEditor to Quill.
How does it work?
Here are some differences you’ll see with the Quill text editor.
- The Quill editor supports a different set of fonts than CKEditor. The text in your component remains in the old font until you edit it. Quill’s supported fonts are Arial, Courier, Garamond, Salesforce Sans, Tahoma, Times New Roman, and Verdana.
- The Quill API wraps each line of text with <p> </p> tags. The tags can increase the number of characters in the rich text API value when you save the text. If you get a max length warning, break up the text into two Rich Text components.
- The link editor panel in Quill has fewer options than CKEditor. For example, the Quill panel doesn’t include the Link Type option, but you can specify it manually.
- A link target can be added only via the Metadata API.
- In Quill, the default color for text is gray in the editor, but the text renders black in the output.
- If you select text using keyboard shortcuts, such as Cmd/Ctrl+A, and then type something new, Quill resets the formatting of the existing text.
6. Set Component Visibility Based on Standard and Custom User Permissions
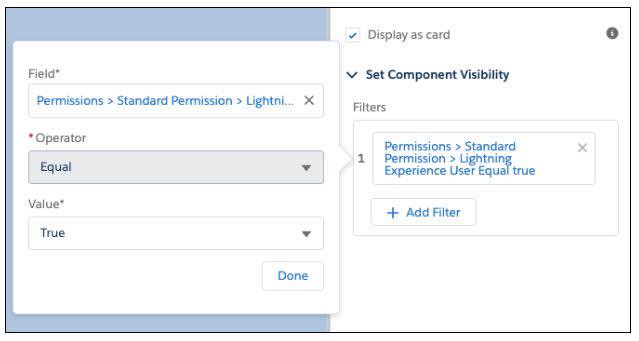
Now you can make your Lightning pages more dynamic by configuring component visibility filters based on the permissions of the person viewing the page.
How does it work?
You can create a rule for a component to display for users with a specific permission, but it’s hidden for everyone else. Component visibility filters are supported for standard components, custom components, and components from AppExchange.
7. Building Lightning Web Components
Now you can build Lightning components using two programming models: Lightning Web Components, and the original model, Aura Components. Lightning web components are custom HTML elements built using HTML and modern JavaScript. Lightning web components and Aura components can coexist and interoperate on a page. To admins and end users, they both appear as Lightning components.
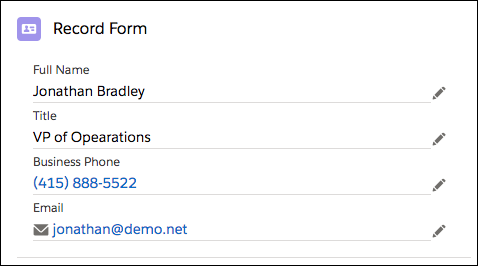
Lightning web component is a fully editable form built with six lines of JavaScript.
How does it work?
Use the Salesforce CLI to synchronize Lightning Web Components source code between Salesforce and your favorite code editor. We recommend Visual Studio Code because the Salesforce Extension Pack includes Salesforce CLI commands, code completion, and linting, which make coding faster and more fluid.

